1. Before designing the material belt, it is necessary to understand the tolerance requirements of the parts, material properties, punch tonnage, punching table top, SPM (per minute punching), feeding direction, feeding height, mold thickness requirement, material utilization rate, mold service life. .
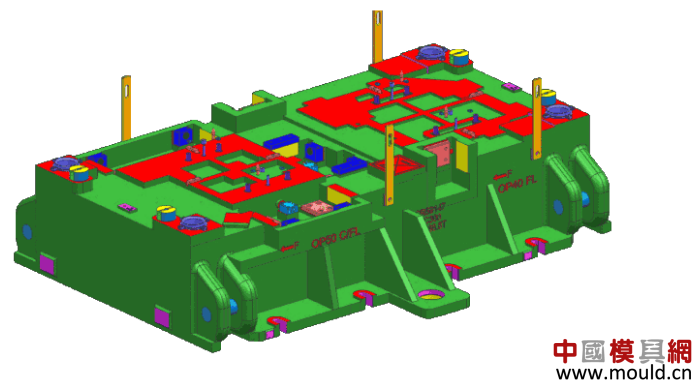
2. When designing the strip, it is necessary to carry out CAE analysis at the same time, mainly considering the thinning rate of the material, generally below 25%. Special deep-drawn stainless steel material can be annealed after pre-stretching. With high-frequency annealing machine, the thinning rate can be up to 40%. When designing the strip, it is necessary to communicate with the customer. For the photo or structure drawing of the mold, the empty step is also very important. If the length of the mold is allowed, the appropriate empty step is very helpful for the mold modification after the trial.
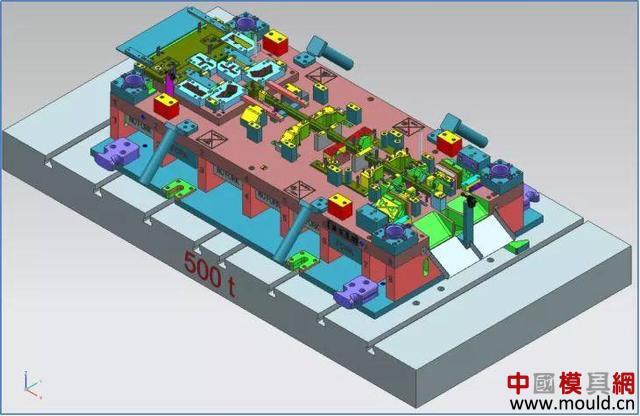
3. The belt design is an analysis of the product forming process, which basically determines whether the mold is successful.
4. In the continuous mold design, the lifting design is very important. If the lifting rod cannot lift the entire belt, automatic continuous production cannot be performed.
5, in the mold design, mold material selection and heat treatment and surface treatment (such as TD, TICN, TD time takes 3-4 days), especially the tensile parts, if there is no TD, the mold surface will be easy to pull and fluff .
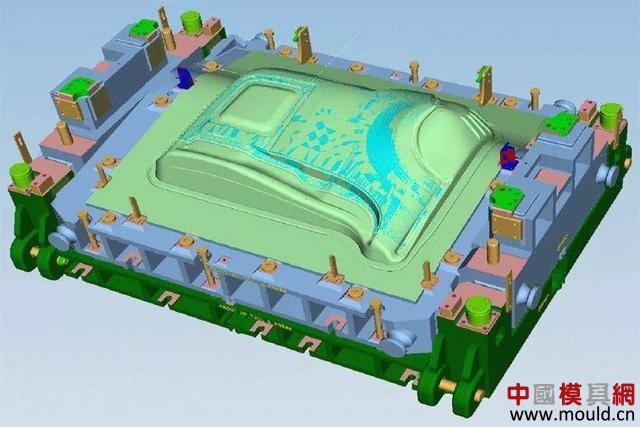
6. In the mold design, for the surface with small hole position or tolerance requirements, make the adjustable insert as much as possible, which is convenient for adjustment during the test mode and production, so as to be easy to reach, the size requirements of the parts, and the upper and lower molds must be done at the same time. Adjustable inserts. For the word å”›, it is required to be detachable on the punching machine, and it is a waste of time without the need to remove the dies.
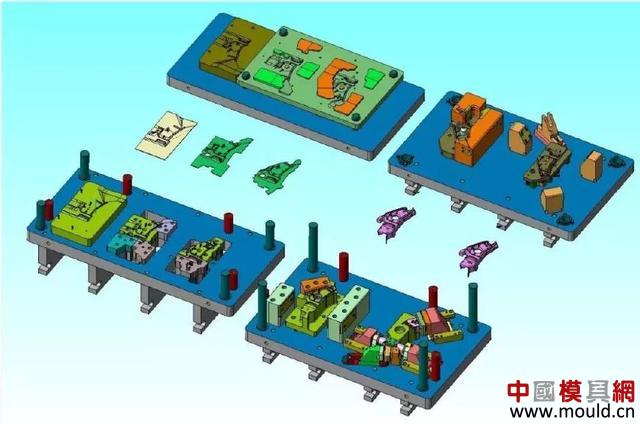
7. When designing the hydrogen spring, design according to the pressure of CAE analysis. Do not design an excessive hydrogen spring to prevent the product from rupturing. Usually, the pressure is small, the product is wrinkled, the pressure is high, and the product is broken. To solve the wrinkle of the product, the method of locally increasing the drawbead can be adopted, and the sheet is fixed by the drawbead and then stretched to reduce wrinkles.
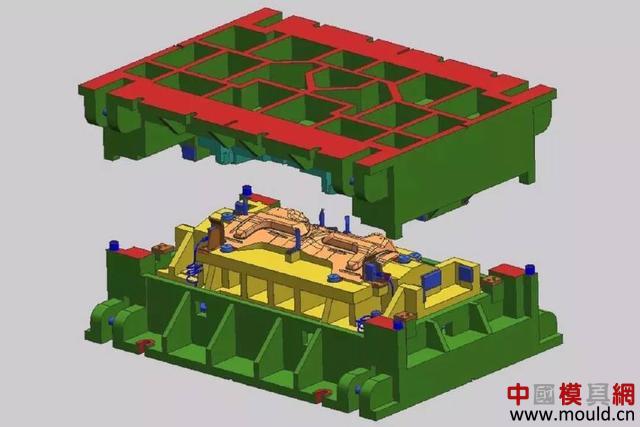
8. When first testing the mold, be sure to slowly lower the upper mold. For the stretching process, be sure to use the thickness of the fuse sample. After the material gap reaches the material thickness, try the mold again. Right. Use the movable inserts for the drawbeads to adjust the height of the drawbeads.
9. When testing the mold, the reference hole and the reference surface must be placed on the inspection tool after the mold is properly assembled, or sent to the CMM for 3D report, otherwise it is meaningless.
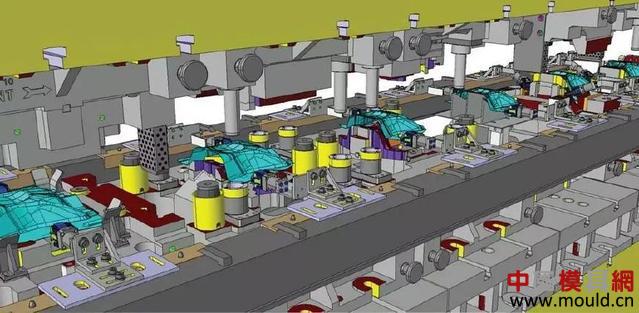
10, red Dan must be equipped, the fit rate of more than 80%, can open the cut, do CMM report, or the reference hole reference surface has been well-equipped, the product has been very stable, the fit rate can be appropriately reduced. Matching red dan is a very important matter, otherwise the product is unstable and cannot be judged later. The size of the parts will not meet the customer's requirements.
11, customer sample requirements: generally first laser office → cut office → 100% OK office, in the laser office stage will be red Dan, the feeding adjustment, solve the problem of rupture wrinkles, dimensional tolerance, in the opening Basically, the main problem is changed, followed by fine-tuning (partial improvement of the mold).
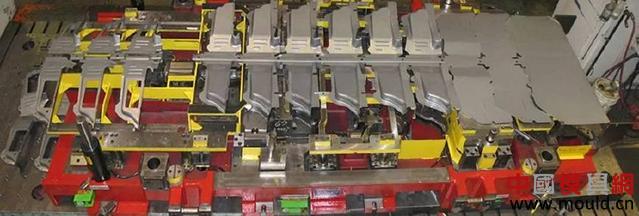
12. In the case that the customer must cut the mouth but the process conditions are not mature, you can consider opening the soft material knife edge (that is, directly use 45 steel to open the knife edge, directly cut the welding when cutting the mouth, and then open the official hard material after the size is OK. blade).
13. For 3D complex products, you can use 3D laser to laser. Before 3D laser, you must make 3D graphics. After using CNC to set the reference point, send 3D laser. 3D laser also needs to be positioned sand.
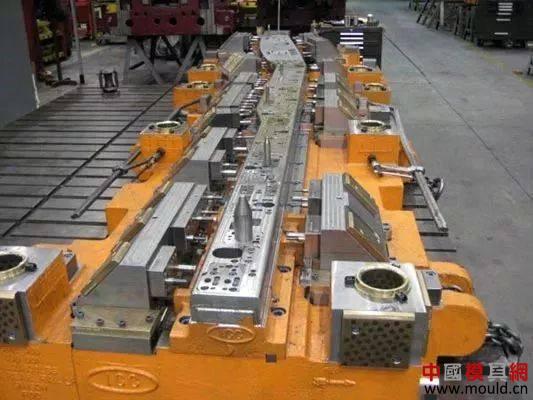
14. For high-strength steel plates, the material of the knife edge should be made of hard alloy materials such as A88 or V4.
15. In the trial mode, in order to test the stretching effect, sandpaper can be used to test the effect at different positions on the material, and after determining the effect, the movable drawbead or the active hemp dot in the corresponding position (that is, a plated piece) Grinded into pockmarks), used to rub the obstacles.
16. For parts with more bending, adjust the bending step by step step by step.
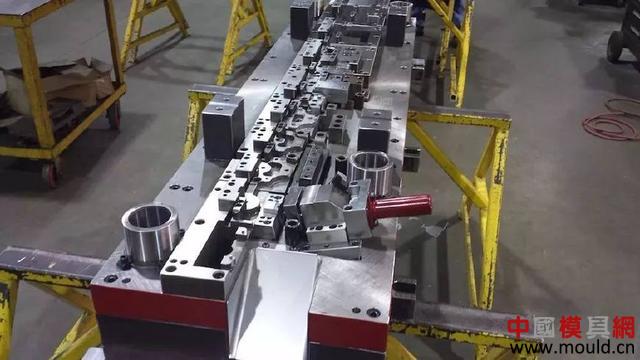
17. When adjusting the forming angle, the R angle or the moving fold line reference at the time of small bending can be used to achieve the purpose of forming the angle.
18. When adjusting the mold, most of the gaskets are used to adjust the height of the forming male, or the male and female parts are moved back and forth. The gasket is generally made of stainless steel hard sheets. (If the customer is not allowed to use the gasket, wait for the mold to be adjusted before making new workpieces to the customer)
19, mold parts of stainless steel materials, can not use TD, to use (TICN) or PVD.
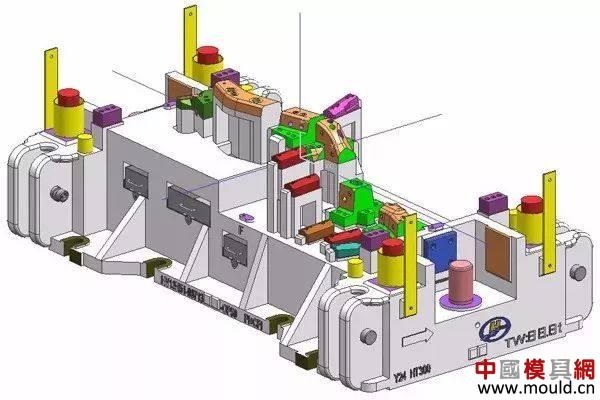
20, to determine when the official materials arrive, when using the test, save the use of materials, to avoid the phenomenon of insufficient materials.
21, there are two types of continuous mode sensors (Sensor), one is the step sensor, and the other is the blanking sensor.
22. The slope of the waste funnel is not less than 30 degrees. For the low angle Scope box, it can be solved by installing Pneumatic Vibration.
23. For the trimming line affected by the forming, it is necessary to select the shearing after forming, and the special position can be realized by the cross cutting method.
24. For multiple reference hole positions, it is best to use a single punching method to avoid the impact accuracy after step cutting.
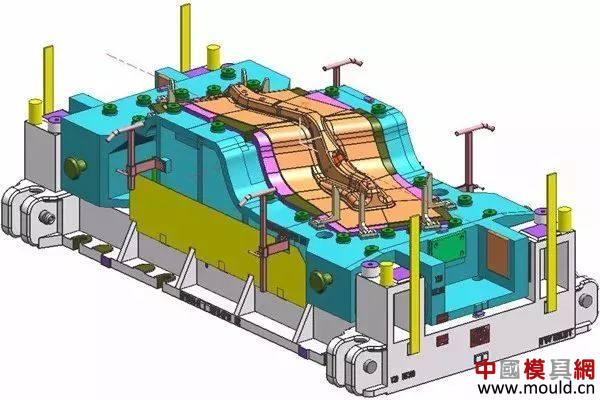
25. For the test mode analysis, it is necessary to analyze the material strip after the test mode and analyze it step by step, and attach the red dan material tape.
26. For the product rupture, it can be carried out in various ways such as adding the package, extruding the material, increasing the molding area of ​​the rod, and opening the hole in the early stage of stretching, and performing CAE analysis before changing the mold.
27, product materials are divided into coil material coil and sheet material two, some coil materials need to be stripped again to the strip width after the factory, usually the strip size is negative tolerance (negative 0.5mm), and the inner diameter of the coil To meet the size of the feed rack, avoid too large or too small and too heavy.
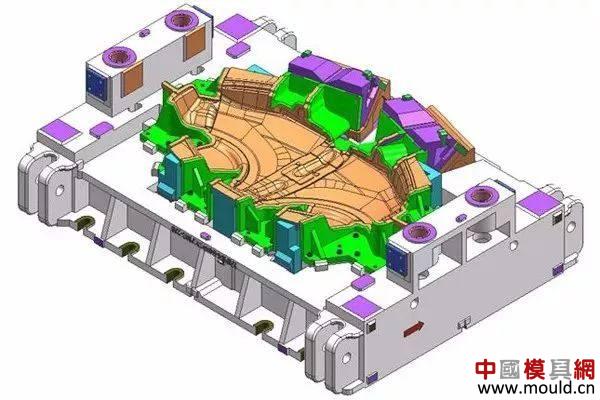
28. When the mold is processed, the pin hole of the wire cutting is usually used as the reference of the number of hits. After the CNC is programmed, the operator is required to give the coordinates of the two holes to the programmer. After the angle is requested by the programmer, the program is placed. Processing after angle. Usually, when the template is first processed, it is not necessary to obtain an angle for the edge processing.
29, the concept of fine punch is not to leave the gap (or only 0.5%). Generally, the blanking gap is 10% of the thickness of the material, and the thicker the material, the larger the gap ratio.
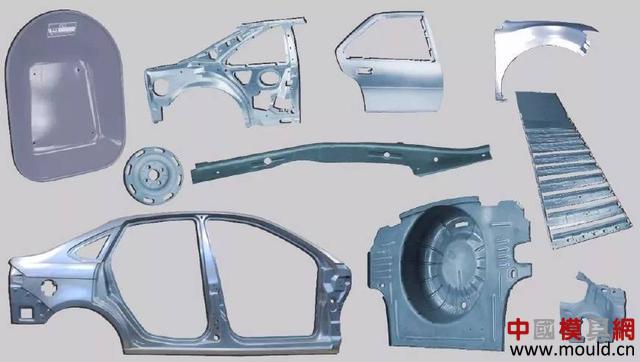
30. If the size of the metal model is not up to the requirements, it can be realized by shaping, including plum pile, flattening again, simple punching and so on.
The above is a summary of some of the experience in the actual stamping work, I hope to help those who read this article, improve the accuracy of the mold, and reduce the number of trials.
Rivets are a permanent mechanical fastener. Before being installed a rivet consists of a smooth cylindrical shaft with a head on one end. The end opposite the head is called the buck-tail. On installation the rivet is placed in a punched or drilled hole, and the tail is upset, or bucked (i.e., deformed), so that it expands to about 1.5 times the original shaft diameter, holding the rivet in place.
Rivets Categories:
About Rivets,it is also belong to connecting and fastening,
Normally it can be divided into several categories:Solid Rivets,Rivet Nuts,Blind Rivets and so on.
And our Non-standard Rivets can be produce according to drawings and samples.
We have ability to control the quality during production before sending to customers. We wish to do your best supplier of Rivets in China..
Rivets Purpose:
We are manufacture to supply our Rivets to our customers,We Have responsibility to give our best goods with good quality . So we will track all step to customers at all times. such as: products requirement,Technology and property ,package,shipment ,and files ,and sales serve,
Welcome all of you to contact with us,we promise to give our the best We are improving as your supporting.
Rivets
Solid Rivet, Stainless Steel Rivets, Stainless Rivets
Ningbo Brightfast Machinery Industry Trade Co.,Ltd , http://www.brightfastener.com
![<?echo $_SERVER['SERVER_NAME'];?>](/template/twentyseventeen/skin/images/header.jpg)