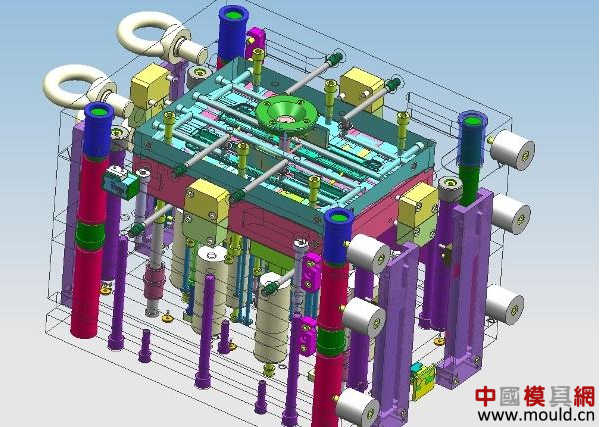
UG is the abbreviation of Unigraphics, an interactive CAD/CAM (computer-aided design and computer-aided manufacturing) system. It is powerful and can easily implement the construction of various complex entities and shapes. At the beginning of its birth, it was mainly based on workstations. However, with the development of PC hardware and the rapid growth of individual users, the application on the PC has grown rapidly, and has become a mainstream application of the three-dimensional design of the mold industry.
UG is widely used in product design, mold design, processing programming, assembly analysis, sheet metal design, etc. With the development of society, more and more people should know and can skillfully apply UG software for various projects. design.
Compared to other software, in the mold industry (whether design, demolition of copper, or programming) has a great role, and sometimes something in other software to change the product, parting takes a long time, in UG can be very Easy to get.
Of course, UG has a large number of application skills in the mold design, master these skills, and by analogy, will give you a great deal of convenience in the work, especially in the mold division process of complex products, you can avoid detours Reduce blindness.
Unfortunately, these techniques are invisible in the UG books, because the books are not written by people in the industry, and often see the same example repeated in different books, copy and copy, and spend a lot of Space to talk about some of the things that are rarely used in actual operations, but not really needed.
Therefore, here we talk about the application of UG in the actual practice, the main thing is not in the book, I hope you can carefully understand the meaning of it, in order to use it flexibly. Of course, everyone should have basic UG modeling knowledge before looking at these things.
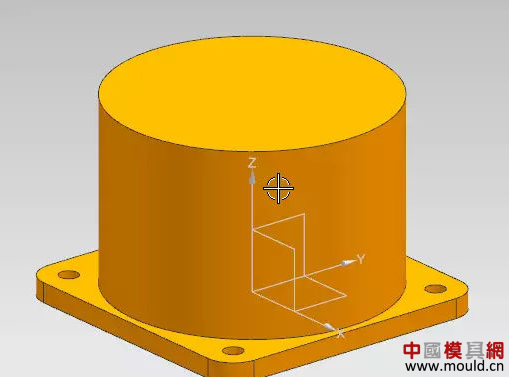
First, the failure of the Boolean operation:
In UG operations, there are often problems with Boolean operations, no reduction, no reduction, and segmentation failures. Especially in the case of relatively bad surfaces, mold partitions, sliders, and inclined roofs often encounter such problems. Try the following solutions:
1. Displace the face of the tool body or move it a little distance to solve. (Offset or moving distance should not affect the precision of machining)
2. Use the wire frame to display the target body, tool body, and then do a Boolean operation (or cut, split). If you fail, look closely and you will find that some of the edges are displayed in red. This is the problem area and the problem area can be divided (ie, Divided into two parts), and then Boolean operations, and then extract the problem area surface, stitching, processing, and then patch up, this method can solve most of the Boolean operations failed. (You can also offset the problem by a little
3. Sometimes, Boolean operations fail, and all of them can be made into faces and operating surfaces, and then the entities can be sewn together. This method can handle almost all problems of addition and subtraction, but it is also the most troublesome and it is recommended only if it is not done.
4. Use physical stitching to add two objects, first select the common surface, adjust the tolerances to stitch. However, this method will cause trouble for subsequent operations.
Note:
a. If a Boolean operation results in multiple bodies, the parameters will be lost. This is one of the reasons for the failure of executing Split_Solid in MW/moldtools.
b. Use the body to cut the body. Within the area of ​​the body, the body cannot have "boundaries" or "face selfing" problems. This can be checked using the Face_FaceIntersections and Sheet_Boundaries options in Analysis/ExamineGeometry.
c. Boolean operations cannot have a "zero thickness" phenomenon.
d. Boolean operations can be "face-surface, surface-entity". These two options are very convenient for patching.
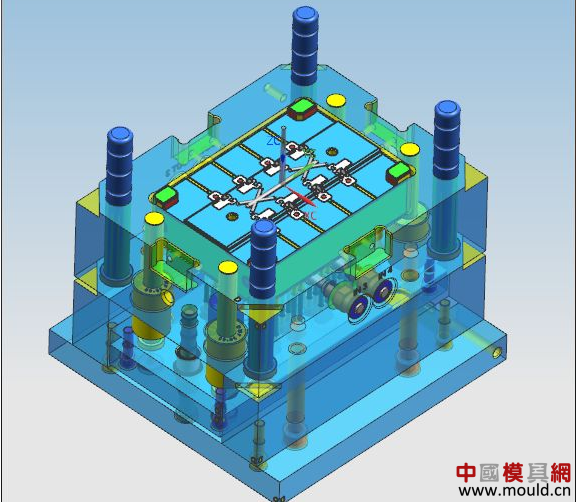
two. UG pruning face
Use the Face_FaceIntersections and Sheet_Boundaries options in Analysis/ExamineGeometry to determine the number of boundaries and the exact location of the hole, or the location of the self-intersection. Then use the wireframe to display the boundary line.
the measures taken:
A. Surface reduction surface: extract the peripheral surface of the hole, remove the parameter, and then use Boolean operations to reduce the surface of the hole and remove the surface of the hole. (If necessary, make a slight adjustment to the sewing tolerance.) Adjusting) can also expand the extracted surface, or trim, and then suture. If the Boolean operation fails, the surface around the hole can be extracted and Boolean operation can be performed. After the face has been extracted by Copy, handle the broken surface, and then stitched.
B. Cut the body to extract the broken surface or the surrounding surface for backup. With the TrimmedSheet option, trim off the broken surface or the surrounding surface in the original geometry. Then use the backup surface, edited, and then resumed to stitch one by one. If the broken surface is a small hole, you can use the “Freeform Features†option to manually make the i-piece and make it up. If there is still a hole after stitching, the stitching tolerance can be slightly adjusted. After the entity is formed, it can be trimmed with the function of “replacement†or “constraintâ€. (The trimming of the entity is sometimes more convenient than the body)
C. Change the broken surface to another color and make the rest of the faces the same color. Then use the MW/moldtool/ExtractFaceRegion option to extract the faces of the same color and open the 29th layer. You can see that there are no faces to delete, so it is easy to repair.
D. Sometimes, IGS diagrams turned by other software, the surface has been seriously deformed, available contours, hand action surface. If there is a broken line, these points can be cut off and processed.
E. If there is a lot of broken surfaces, all of them can be extracted into discrete ones and then stitched one by one to find the problem.
F. There are a lot of STP diagrams that have been transferred from other 3D software and analyzed as entities. However, if you look closely, there are holes. This is a geometric problem. At this time, one can pick one by one, and then suture one by one to solve. Can also be based on the outline, after their own hand face, do Patch.
G. UG open other software output IGS file, the effect is not very good, in many cases there are pieces of deformation, you can use Solidworks software to open, and then save as x_t format, enter UG, then you can find the quality of graphics Greatly improved.
H. Sometimes, the tolerances for sewing can be appropriately increased, artificially stitching the body into the body, and then modifying it in the body, which will be much easier. Remember, if the film body is not easy to modify, you can create the entity first. If the entity is not easy to modify, you can make the body first.
I. The tools for entity repair are: Patch, Simplify, Replace, Constrain_face, Delete surface.
The above methods can be used flexibly. At the same time, by observing the characteristics of the product and applying a mirror or replication relationship to repair the broken surface, the effect is better. Repairing a broken surface is always a very troublesome thing. There is no one move that is omnipotent. It must be handled in specific circumstances. If you can't do it with one stroke, you can use another trick and learn more ways to help you open your mind.
UG software mold is very convenient and very professional, so UG software design learning is an important part of our mechanical drawing.
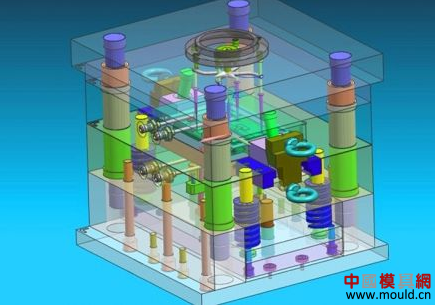
UG software drafting 13 important skills, but also the experience of previous people to sum up, I hope you can find their own needs, and further improve their level of UG software:
1, UG software default working directory in the UG software II, in the attribute start directory to modify your own working directory can reduce many problems, this directory is the actual directory of UG software, you can set the parameter file in this directory, and The PROE principle is the same, but the UG software can automatically record the working directory. The UG software defaults the directory where the file is saved to the working directory, and the PROE needs to be set before the work.
2. UG software usually selects the line with direction. The nearest point is the starting point of the line. When the direction is selected, the nearest point is the direction point. When the direction is opposite to the desired direction, double-click the arrow to change the direction. direction.
3, UG software and other software's biggest advantage, one thing is that it has the concept of tolerances, and for a single feature can use the tolerance fusion effect to eliminate the calculation error, when the model prompts the calculated gap is greater than the tolerance, the modified tolerance value can usually be resolved This problem.
4. When all the noodles in the 'Fisher' are created, the principle of the right-handed coordinate is used. When the direction is uncertain, try to sketch the part with your right hand.
5. In sketching interface, sketch operation (edit)\redefines wireframe (string) ----- used to redraw the outline of the sketch. When the design is often encountered modify the design, if you just modify the size, it is OK, if Increase or decrease the structure, the contour line must be changed, and the contour needs to be redefined. However, the UG software does not have PROE's active replacement of contour lines. It is troublesome to encounter contours and parent-child relationships with downstream designs.
6. Sketch Builder (Attempt)\Reattach Attached Sketch-----Redefines the sketch attachment surface. This command changes the design downstream and it is convenient when the upstream needs to go downstream.
7. In the model state, insert \Sketches--then you can select the names of the sketches you want to edit in the sketch name.
8. In the sketch interface, Preferences\Sketches--can set all the interface properties of the sketch. "Retain Size"----In 3D, the sketch size still exists (This option is only set in the sketch interface. Only in the modified).
9. When there are many sizes that need to be controlled by a relational model, it is best not to use the internal dimension name as a variable. When the model structure is modified, the internal dimensions and the line ID all change, and the relational formula may not be better than the boiled paste. The face is still unclear, and it will not work when you are crazy. My usual approach is to take the name of the variable that needs the control of the external parameters. The variables are directly referenced in the dimension relationship, and these variables are modified directly when the modification is made. Want to be lazy stuff by the way to write a piece of code, to be an image of the point of the interface out to ensure fast and accurate also good.
10. Sketcher, sketch generator (attempt)\repositioning---There are 4 commands in the sketch, flexible use, relocatable sketches, flexible use of these commands can be a good positioning of previously drawn graphics.
11. In the sketch interface, the sketch operation\Add existing curve---The line that is usually imported from CAD is placed into the sketch in the UG software and put into the sketch so that it can be used to define dimensions and constraints. It is sometimes very useful when designing many raw data from the CAD, such as the cross-section of the car body. However, the pre-planning should be done well when the reference is made. Try to use the transformation function to do a good job with the absolute coordinate positioning to facilitate Subsequent interfaces were introduced.
12. When sketching, sketch constraint\automatic constraint---the inside coincidence option is usually used to check whether the coincident points are coincident (with the tolerance value), sometimes sketch lines are more, and many places are trimmed, or the lines are from In CAD, there may be small gaps at the joints, which need to be merged when these endpoints are merged, so as to avoid constraints or downstream changes when the line runs around. By modifying tolerances, errors can also be mistaken, but the tolerances are large, in the large model In the display of small features, I torture my own eyes.
13. Sketch curve\association point---used to define the positions in different sketches. When the upstream and downstream sketches need to be aligned, they are really easy to use. Usually, they still prefer to use coordinates to align, sometimes they may not be able to get coordinates. Using the dimensional constraints between the lines, it is possible to change the structure when the design of the downstream changes, but also to change their own reference to the object, using the connection point is a little better Oh.
Ionizer Air Purifier,Air Purifier For Home,Household Air Filters,Household Air Purifiers
Guangdong Zhengshang Electrical Technology Co., Ltd. , https://www.zengsung.com
![<?echo $_SERVER['SERVER_NAME'];?>](/template/twentyseventeen/skin/images/header.jpg)